
I mentioned in an earlier post that we are planning on incubating eggs. I think I’ll post the process as we go through it. We’ve never done this before, so it’s all new territory.
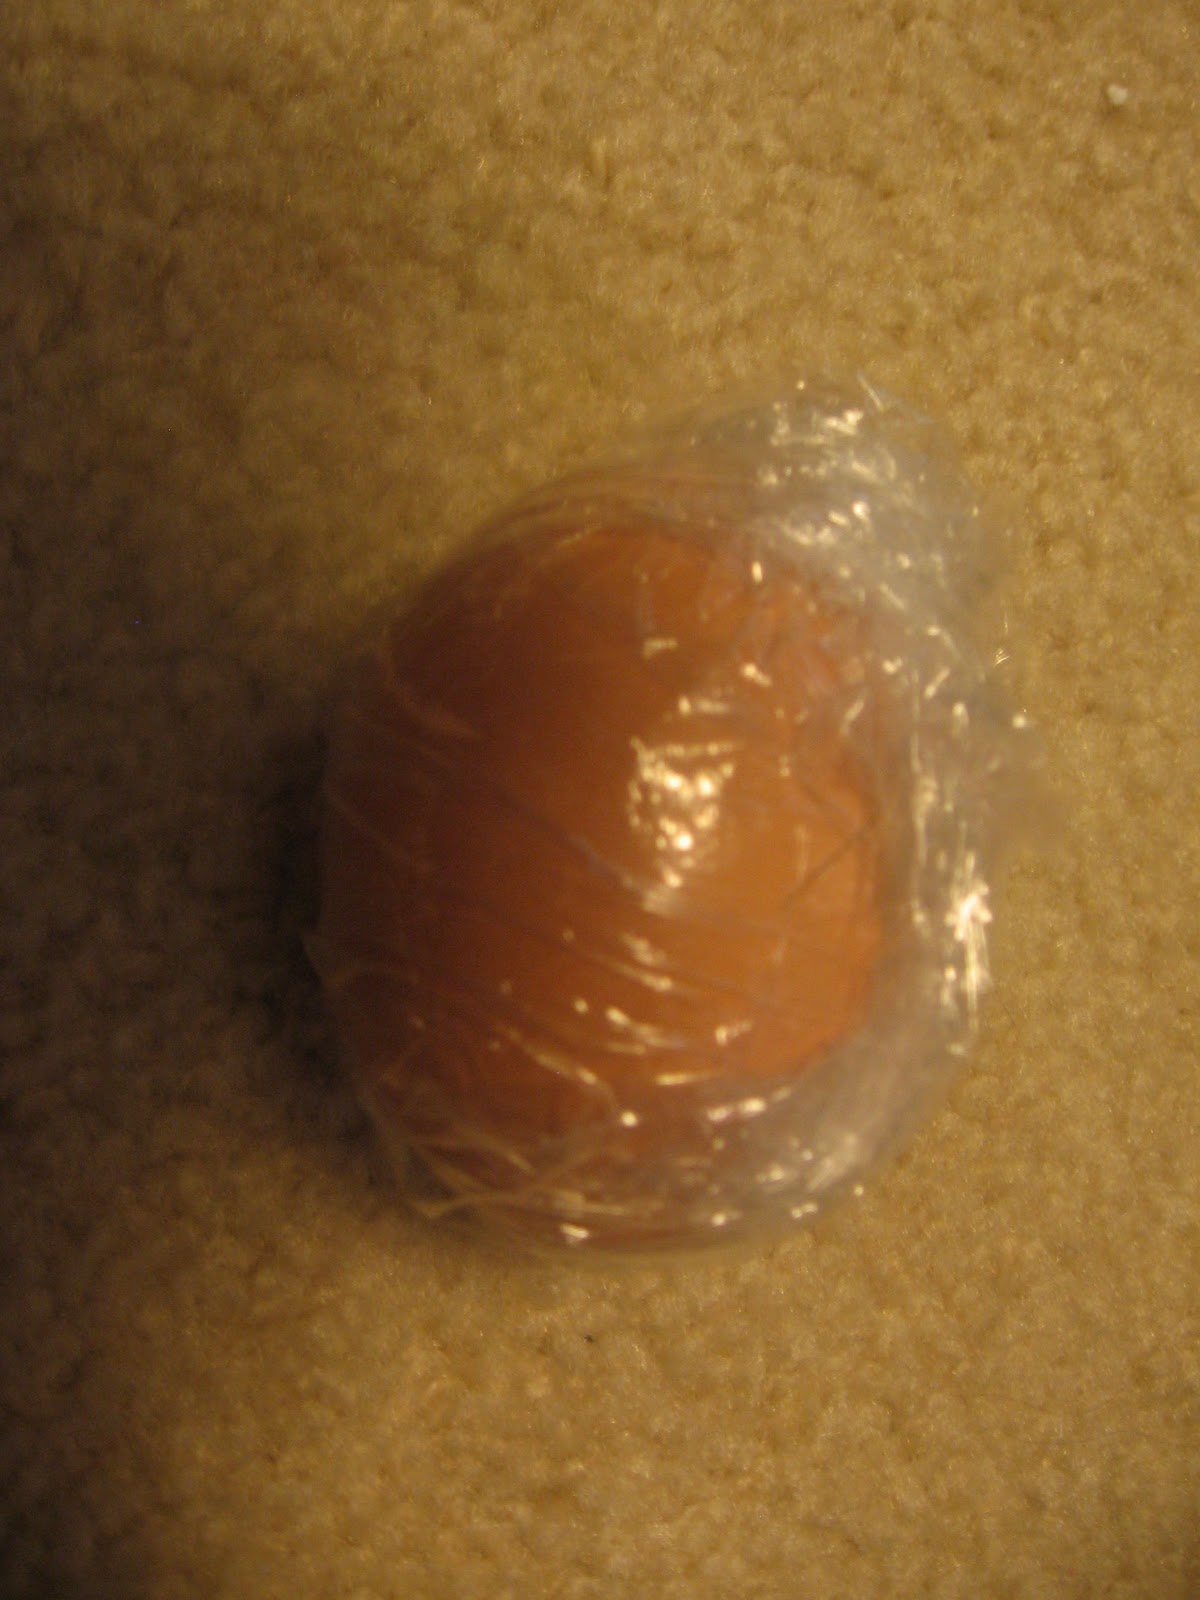
Collecting the eggs: We have 4 breeds of chickens, but to start I wanted to collect only from the Ameraucana and the Barred Rocks. I want the Barred Rocks for meat and the others to replace older layers. So we separated the chickens into 2 groups and divided the coop in half. This caused a couple of issues, they are laying poorly because of the upset, and it has messed up the pecking order and one of the Australorp hens has been picked on until her back is bleeding and we had to separate her to heal. I’m not sure we will do this again. Maybe next time we’ll just get what we get. We ended up with 36 eggs, we need to get them into the incubator by the 5th at the latest, but decided to do it yesterday on Sunday so I had time to monitor the temperature. The recommended amount of days to collect eggs is 6 with a maximum of 10. They should be stored at about 55 degrees, and with the pointy end down. (My arctic entry coat closet was an almost perfect 54 degrees, so that is where we stored them) To assist the yolk to stay centered, I prop an end of the carton on an inch thick book, and switch ends daily. To help keep the moisture in the eggs, the cartons can be put into a plastic bag, or each egg wrapped in plastic wrap (this method is better if storing for the longer time), which is what we have been doing.

The incubator: I originally planned on ordering an incubator online, but the $40 shipping to Alaska made me give up that idea. I perused Craig’s list for a while, then just bought one at the local feed store. We found a forced air table top incubator it does not have the digital thermometer, which is what I was hoping to get, but the extra cost for that feature, plus the shipping put it out of our reach this year. I’m using Storey’s guide to raising chickens as my main guide, as well as the web. One helpful article suggested running the incubator for a week prior to putting in the eggs. It also suggested that the little thermometer it comes with may not be accurate. So I have spent the past couple days experimenting with the temperature and humidity of the incubator, and basically being frustrated.

Temperature: The recommended temperature by Storey’s is 99.5, another source I read said 100. I put a household indoor/outdoor temperature and humidity meter with a probe. It read within a degree of the one it came with. The temperature is not controlled by the thermometer, but by dial and it fluctuates some up and down about a degree or two, hopefully that won’t be a problem. It is lethal above 103 in the fan model, and we have never hit that high. Ok so far so good.
Humidity: This is the part that turned out to be difficult. Depending on the source I looked at, the humidity should be somewhere between 55-60% while incubating, and 70-75% the 3 days prior to hatching (they should hatch in 21 days). Too much humidity and they can get umphailits where the belly button doesn’t heal and they can die up to 2 weeks after hatching, too little and they can’t make it out of their shells. So the indoor/outdoor thermometer read 25% humidity (um less than in the house???) , I add more water, the little windows on the top are fogged up, still only 30% (hmmm…. This can’t be right?) So I borrow my son’s reptile hygrometer, reads 50%, (but that still seems low to me, and is it right?). DH brings home a temperature/hygrometer pen from work. Again the temperature is close to the rest of the thermometers, but the humidity is 70%. (Ugh ok, so the humidity is somewhere between 25% and 70%, perfect! NOT). We did some research online and found a couple we could order, but they have to be shipped and would cost around $50 plus shipping. Since we only have a few days before the eggs need to go in, this won’t do, and I really don’t want to spend that much money. On my way home, empty handed, from an exhaustive, and futile search in town for a hygrometer (that works), I had a brilliant idea! I have a new matched set of cooking thermometers in my kitchen and I can try to make my own! Here are the instructions I followed. The only thing I did different is not mount it, as there are holes on top that I put them through. http://www.ehow.com/how_4449112_build-hygrometer.html . One thermometer just measures the air (dry), the other one has the shoe string on the thermometer, and the other end of the shoe lace in the water reservoir in the incubator (wet). You measure the temperature on the dry thermometer, and on the wet thermometer, and then can use a chart to determine the humidity, Storey’s book has one, or you can put it into a program online such as this one http://www.csgnetwork.com/dewptrelhumcalc.html. So for $11 thermometers from Sam’s Club, which I already owned (they measured temperature right where the other 3 thermometers did), and a shoelace, voila a hygrometer THAT WORKS!!! It measured within 1% of the one my DH borrowed.
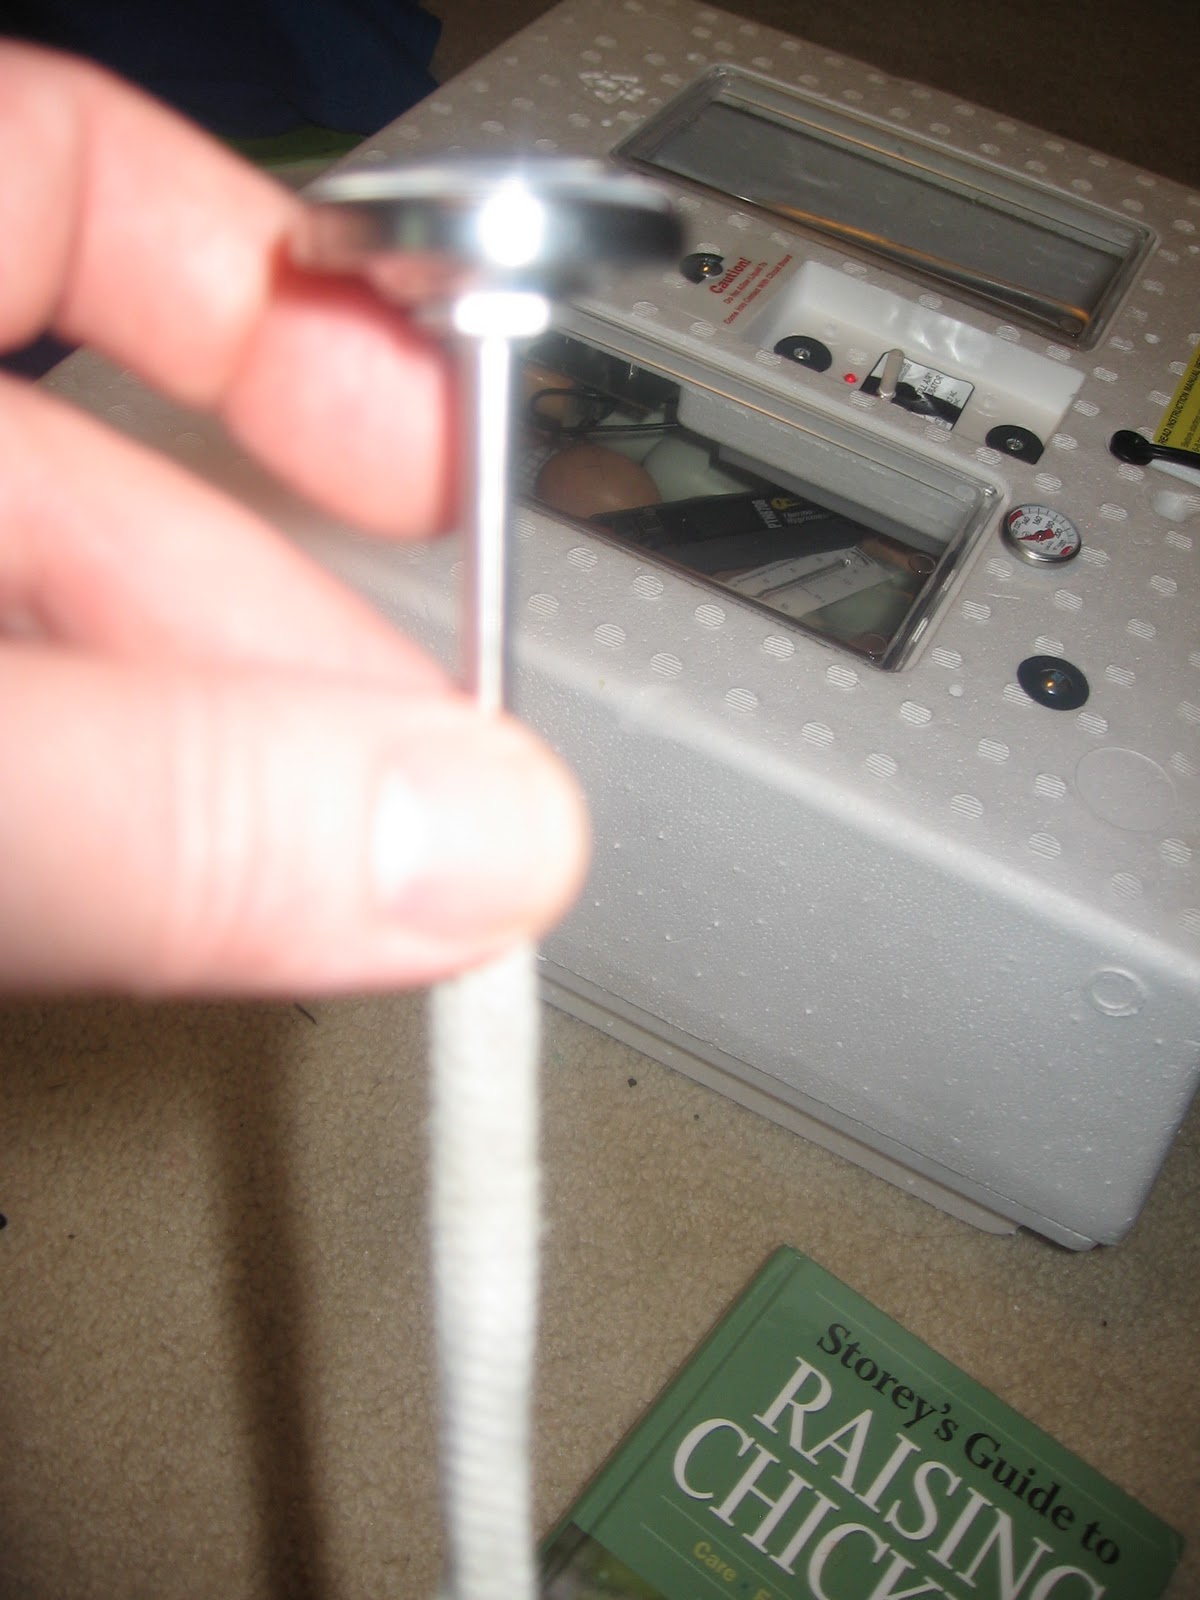
Homemade hygrometer, sorry I was not able to take a good picture of it.
So 5 thermometers, and 4 hygrometers later the incubator looks somewhat ridiculous, like a patient on life support with wires and gauges all over it, but we have everything where we need it to be. My only complaint about the set up, is the meat thermometers are a little small and hard to read, so I think I’ll keep the digital one despite it’s hygrometer being worthless, because it’s so easy to read and seems accurate.
The next post will cover the next steps. I’d love to hear from anyone who has done this before I’m always open to new information.
I never done this before, but this is so cool! I want to know more!
ReplyDeletedid it work ?
ReplyDeleteHi! Sorry about the delay in responding. It did work! There is a part 2 and I think a part 3 to our egg story, we had pretty good results and hatched a bunch that summer. Thanks for visiting my blog.
ReplyDelete