Fairbanks Weather

Click for Fairbanks, Alaska Forecast

Friday, April 8, 2011

Saving the Tomatoes


So this blog post is about what not to do with your tomatoes, overwater.  I have noticed my tomato seedlings have become yellower and yellower, and some are shriveling up, this has been going on ever since I repotted them into the 4 inch pots.  None of the other plants is having an issue.  I googled it, and there were several possibilities, most of them diseases which I don’t think is the case, or soil nutrients, since they are going indoors and the other plants are doing well I don’t think either of these are the cause.  Overwatering was also frequently mentioned as a possible cause.  I honestly didn’t think I was overwatering, I was letting the top get dry to the touch, and was bottom watering, and only watering enough that would be absorbed by the next day.  I read about how to save overwatered tomatoes, one of the ideas was to remove them from the pots and lay them out on newspaper to absorb the extra liquid.  I wasn’t thrilled with this idea, but I had been trying to dry them out for days and they were still quite moist.  So I went ahead and dumped out onto some newspaper, it was sopping wet toward the bottom.  I think what was happening is the top was drying out, but the bottom wasn’t, so it was just staying wet.   I so I did it, I dumped each one out, except for the 4 that were beyond saving.  It’s quite the mess!  I kept the different varieties on separate papers, and will repot them when they dry out pretty well.  I was hoping to save leftover seeds for next year, but decided to plant more in case these don’t make it.  I highly recommend you avoid this problem, and don’t overwater! 


Wednesday, April 6, 2011

Basic Whole Wheat Bread


I’m always looking for easy ways to get homemade food on the table easily and quickly after work.  One of my favorite ways to make a simple plate of pasta and salad seem special, is to serve it with a nice warm slice of homemade whole wheat bread.    I have a Zojirushi bread maker, that I honestly don’t use as often as I should.  It really is simple to throw together a few ingredients in the morning, set the timer  ahead to have the bread finished at dinnertime, it mixes, kneads, rises and bakes all while I’m at work.  

One of my favorite recipes is a very simple whole wheat recipe

1 ½ cups water
3 ¼ cups whole wheat flour
½ tablespoon salt
½ tablespoon sugar
½ tablespoon instant dry yeast

When setting your bread maker to start at a later time, be sure to keep the salt and yeast apart, and keep the yeast dry.  I first put in the water, sweetener, salt, and if the recipe calls for it fat into the water.  Then add the flour, and make a little well in the center and put in the dry yeast.  Doubling the recipe makes a nice 2 loaf recipe you can bake in your oven. 

Monday, April 4, 2011

Incubating chicken eggs Part 1: The hunt for the hygrometer

I mentioned in an earlier post that we are planning on incubating eggs.  I think I’ll post the process as we go through it.  We’ve never done this before, so it’s all new territory. 


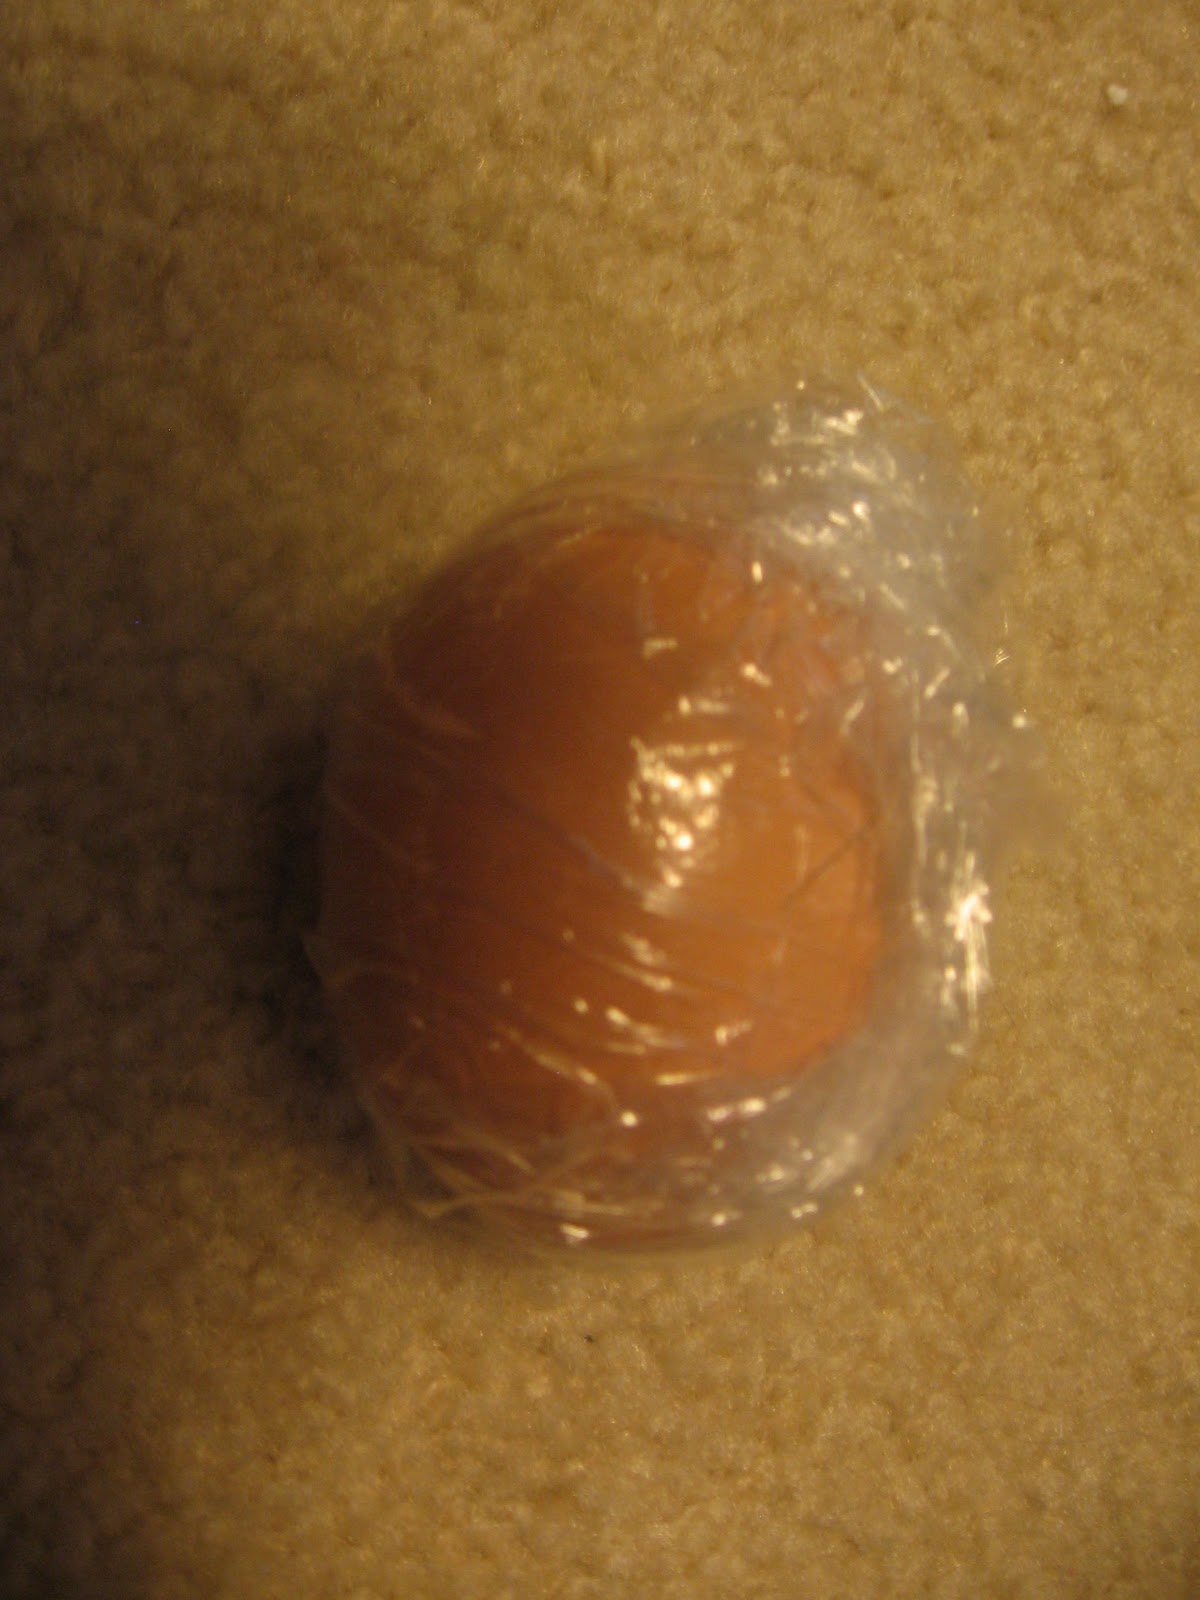
Collecting the eggs:  We have 4 breeds of chickens, but to start I wanted to collect only from the Ameraucana and the Barred Rocks.  I want the Barred Rocks for meat and the others to replace older layers.  So we separated the chickens into 2 groups and divided the coop in half.  This caused a couple of issues, they are laying poorly because of the upset, and it has messed up the pecking order and one of the Australorp hens has been picked on until her back is bleeding and we had to separate her to heal.  I’m not sure we will do this again.  Maybe next time we’ll just get what we get.  We ended up with 36 eggs, we need to get them into the incubator by the 5th at the latest, but decided to do it yesterday on Sunday so I had time to monitor the temperature.  The recommended amount of days to collect eggs is 6 with a maximum of 10. They should be stored at about 55 degrees, and with the pointy end down.   (My arctic entry coat closet was an almost perfect 54 degrees, so that is where we stored them) To assist the yolk to stay centered, I prop an end of the carton on an inch thick book, and switch ends daily.  To help keep the moisture in the eggs, the cartons can be put into a plastic bag, or each egg wrapped in plastic wrap (this method is better if storing for the longer time), which is what we have been doing. 


The incubator: I originally planned on ordering an incubator online, but the $40 shipping to Alaska made me give up that idea. I perused Craig’s list for a while, then just bought one at the local feed store.  We found a forced air table top incubator it does not have the digital thermometer, which is what I was hoping to get, but the extra cost for that feature, plus the shipping put it out of our reach this year.  I’m using Storey’s guide to raising chickens as my main guide, as well as the web.  One helpful article suggested running the incubator for a week prior to putting in the eggs.  It also suggested that the little thermometer it comes with may not be accurate.  So I have spent the past couple days experimenting with the temperature and humidity of the incubator, and basically being frustrated.


 Temperature:  The recommended temperature by Storey’s is 99.5, another source I read said 100. I put a household indoor/outdoor temperature and humidity meter with a probe.  It read within a degree of the one it came with.  The temperature is not controlled by the thermometer, but by dial and it fluctuates some up and down about a degree or two, hopefully that won’t be a problem.  It is lethal above 103 in the fan model, and we have never hit that high.   Ok so far so good.

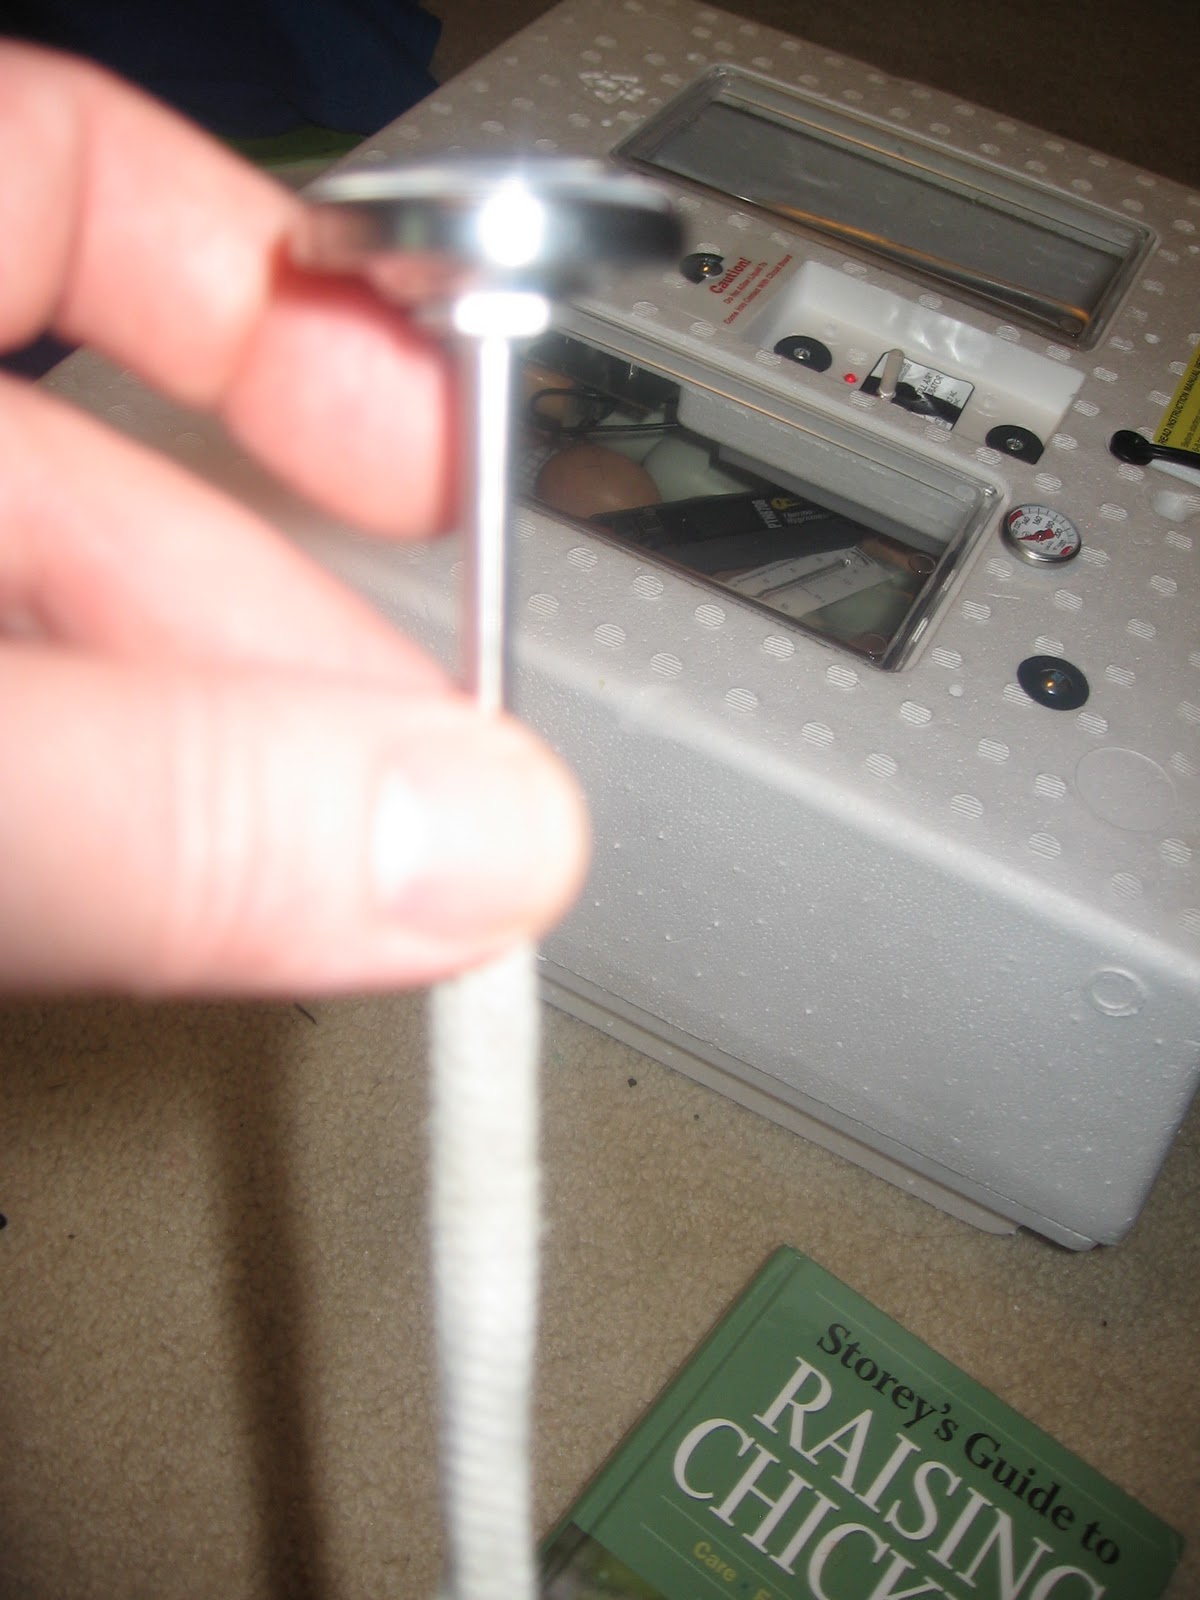
 Humidity:  This is the part that turned out to be difficult.  Depending on the source I looked at, the humidity should be somewhere between 55-60% while incubating, and 70-75% the 3 days prior to hatching (they should hatch in 21 days).  Too much humidity and they can get umphailits where the belly button doesn’t heal and they can die up to 2 weeks after hatching, too little and they can’t make it out of their shells.  So the indoor/outdoor thermometer read 25% humidity (um less than in the house???) , I add more water, the little windows on the top are fogged up, still only 30% (hmmm…. This can’t be right?)  So I borrow my son’s reptile hygrometer, reads 50%, (but that still seems low to me, and is it right?).  DH brings home a temperature/hygrometer pen from work.  Again the temperature is close to the rest of the thermometers, but the humidity is 70%. (Ugh ok, so the humidity is somewhere between 25% and 70%, perfect! NOT).   We did some research online and found a couple we could order, but they have to be shipped and would cost around $50 plus shipping.  Since we only have a few days before the eggs need to go in, this won’t do, and I really don’t want to spend that much money.   On my way home, empty handed, from an exhaustive, and futile search in town for a hygrometer (that works), I had a brilliant idea! I have a new matched set of cooking thermometers in my kitchen and I can try to make my own!  Here are the instructions I followed.  The only thing I did different is not mount it, as there are holes on top that I put them through.  http://www.ehow.com/how_4449112_build-hygrometer.html .   One thermometer just measures the air (dry), the other one has the shoe string on the thermometer, and the other end of the shoe lace in the water reservoir in the incubator (wet).  You measure the temperature on the dry thermometer, and on the wet thermometer, and then can use a chart to determine the humidity, Storey’s book has one, or you can put it into a program online such as this one http://www.csgnetwork.com/dewptrelhumcalc.html.  So for $11 thermometers from Sam’s Club, which I already owned (they measured temperature right where the other 3 thermometers did), and a shoelace, voila a hygrometer THAT WORKS!!!  It measured within 1% of the one my DH borrowed.

 Homemade hygrometer, sorry I was not able to take a good picture of it.

So 5 thermometers, and 4 hygrometers later the incubator looks somewhat ridiculous, like a patient on life support with wires and gauges all over it, but we have everything where we need it to be. My only complaint about the set up, is the meat thermometers are a little small and hard to read, so I think I’ll keep the digital one despite it’s hygrometer being worthless, because it’s so easy to read and seems accurate.  

The next post will cover the next steps.  I’d love to hear from anyone who has done this before I’m always open to new information. 


Sunday, April 3, 2011

Dissappointing news - No turkeys in town

DH went to the feed store today, and we discovered no chicks or turkeys available.  We were going to buy 5 bronze turkeys.  Apparently the TSA is not allowing live animals to fly on commercial flights.  I'm not sure if this is a permanent or temporary situation, but for now, we won't be able to get our turkeys.  I found a couple of other places in AK, and one may not be selling poults this year, and the other is very small and does not ship live birds just eggs to hatch.  So.... we'll see what happens.  Maybe we'll get lucky and something will get worked out otherwise no turkeys for us.  I'm extremely grateful we have the rooster and the incubator.  It's times like this that Alaska feels very remote!

If anyone has any ideas, I'd love to hear them!

Keeping chickens through the harsh Alaska winter

Yesterday, a fellow Alaskan asked me how I keep my chickens through the winter.  I thought the question would be easiest to answer in a post rather than as a comment, so here it is.  This is what we do, it’s not necessarily the “right” way to do things.  We do look up information, but most chicken keeping information is not for climates that go to -50, so in the end we figured out through trial and error what works for us.

We have kept chickens here for just a couple years, on this property.  When we moved here there was a wooden floored shop that has seen better days.  Its uninsulated, unheated, the roof leaks in a couple places, and it already had electricity in it.  It is large enough that we were able steal the back corner of it for the chicken coop.  DH made the coop 8X12 feet finished, so it was a little bigger than  before he made the inside walls.  He insulated the floor building a new floor framework right on the previous floor, then insulated it with R-13 and covered it with wood.  Then he insulated the existing side wall, and built the other two sides the same, insulating them, and making them plywood, he also insulated the ceiling the same way.  Almost all the wood was salvaged wood from other projects, or gleaned from the transfer station.  What I’ll call the front wall is where it leads outside to the chicken yard.  There was an old broken window on there, which he removed.  He salvaged 2, double pained windows from another project and used that for the chicken coop.  They are nice and large and give a good amount of light, and can be opened to increase ventilation and closed to increase warmth.  They are placed pretty high, one so there was room for chicken doors to go outside, and also when it gets really frigid DH puts insulation over them.  In our old coop we once put foam insulation board on a lower window and the chickens ATE it!  Those darn girls laid Styrofoam eggs for a weak.  So these windows are out of reach, and when he does insulate he uses bat insulation, stapled on and covered in plastic, none was eaten this year.  He also painted the ceiling and upper walls white to make it brighter in there.   This size of house gives us 6 square feet for each chicken.  We do have some rabbit cages in there too, they are up along one wall, and then there are nest boxes below the cages.  If it’s too large, it makes it much harder to keep them warm, their body heat does a lot of the work.

 Working on the chicken coop

 All finished, the chicks explore their new home

We don’t use any heater in there.  Their body heat does most of it.  Once there is a few inches of snow on the ground, they quit going outside on their own, they only adventure out a couple feet where the roof overhang keeps the snow back.  When it gets around -10 with a threat of super low, we close them up for the year.  DH locks down their doors, puts insulation in front of them, then nailed a board in front of it to keep them from eating it.  In the spring , the board and insulation will removed and the doors will be opened again.  Once it is getting darker, we start giving them artificial light.  At our shortest day we get only 3 hours of light above the horizon.  DH puts it on a timer, we primarily use2 fluorescent bulbs hanging on feed store lights on timers set, 12 hours on and 12 hours off.  The body heat of the chickens keep the house above  40 degrees until about -20.  At that point we add a 100W incandescent bulb that is left on all the time.  That works until -30 to -40, when we add a heat lamp.  We had a month long stretch requiring the heat lamp, which ran our electric bill up greatly, and when it warmed up and the lights went abruptly back to 12 hours, the girls quit laying.  We ended up putting the incandescent back in all day and night, until they started laying again, then slowly decreased the light and they kept laying.  We will be looking into less expensive options than the heat lamp, we’ve used one prior and it didn’t seem to make the bill go up so much, so I’m not sure if it’s just that particular one or what.  We may at least try a red one, so it provides heat, but not 24 hours of light.  Now we are getting enough light, that the light timer is only coming on for short periods of time.  When it gets too warm in there, there is a buildup of moisture, and it stinks, A LOT.  So DH ended up uncovering one of the windows after our severe cold spell, and opens and closes it for increased or decreased ventilation.  In our old coop the waterer sat on a block near the wall and it kept freezing, we ended up putting a battery warmer (for a car) on it, or they sell heated bases to put them on.  This year ours hung in the center of the room with the feeder, and it froze a little only once this year so we didn’t need to warm it.    

 In the dead of winter, you can see the uncovered window coated in ice 

For bedding on the floor, we used  a thick layer of straw to insulate their feet further, but DH plans on changing this to wood chips next year.  The straw became a woven mat that was very difficult to clean out.  The wood chips the chickens love, they pretend they are in dirt and settle down into little holes, and roll around in it like they are having a dirt bath.  They also dig around in it more, stirring it up and keeping it more dry.  

We feed them organic layer crumbles, vegetable kitchen scraps, and some other things like bread, cooked rice, noodles, beans etc… anything leftover that we don’t eat up.  We also toss around some organic cracked corn, it gives them something interesting to do, as well as stirs up the bedding, and also gives them some extra fuel for body heat in the cold of winter.  I have recently read on Mother Earth News I think, about sprouting trays of grains for the chickens, to give them during the winter, it boosts their health and happiness.  I may try this next year, for this year I just tried to get some veges out to them all day.  I do not feed them any meat products, although I know some people do.  My brother reports his chickens favorite treat is mashed potatoes.  

For the most part, the chickens are getting along well and do not look too  worse for the months of cold weather and confinement.  The breeds were selected specifically for handling cold and confinement well.  Some of the girls are showing signs of a lot of attention from the rooster.  We recently split the house in half and put the Australorps and Buff Orpington on one side and the Barred Rock and the Ameraucana on the other side with the rooster.  Well one of the Australorps has been picked on until her back is bleeding and we had to put her in a cage to seclude her and are treating the back.  I guess we messed up the pecking order by separating them into two groups.

Well I guess this pretty much covers our winter care and housing of the chickens, and since this post is quite long already, I’ll make a summer housing and care post a little later.  Please feel free to share you chicken keeping tips, and questions.  

 You can see the chicken coop behind the garden, and they have a huge fenced in area behind the garden.  I'll talk more about free ranging, chicken tractors, and why we ended up going with confinement instead.

Saturday, April 2, 2011

Ice Art Championship 2011

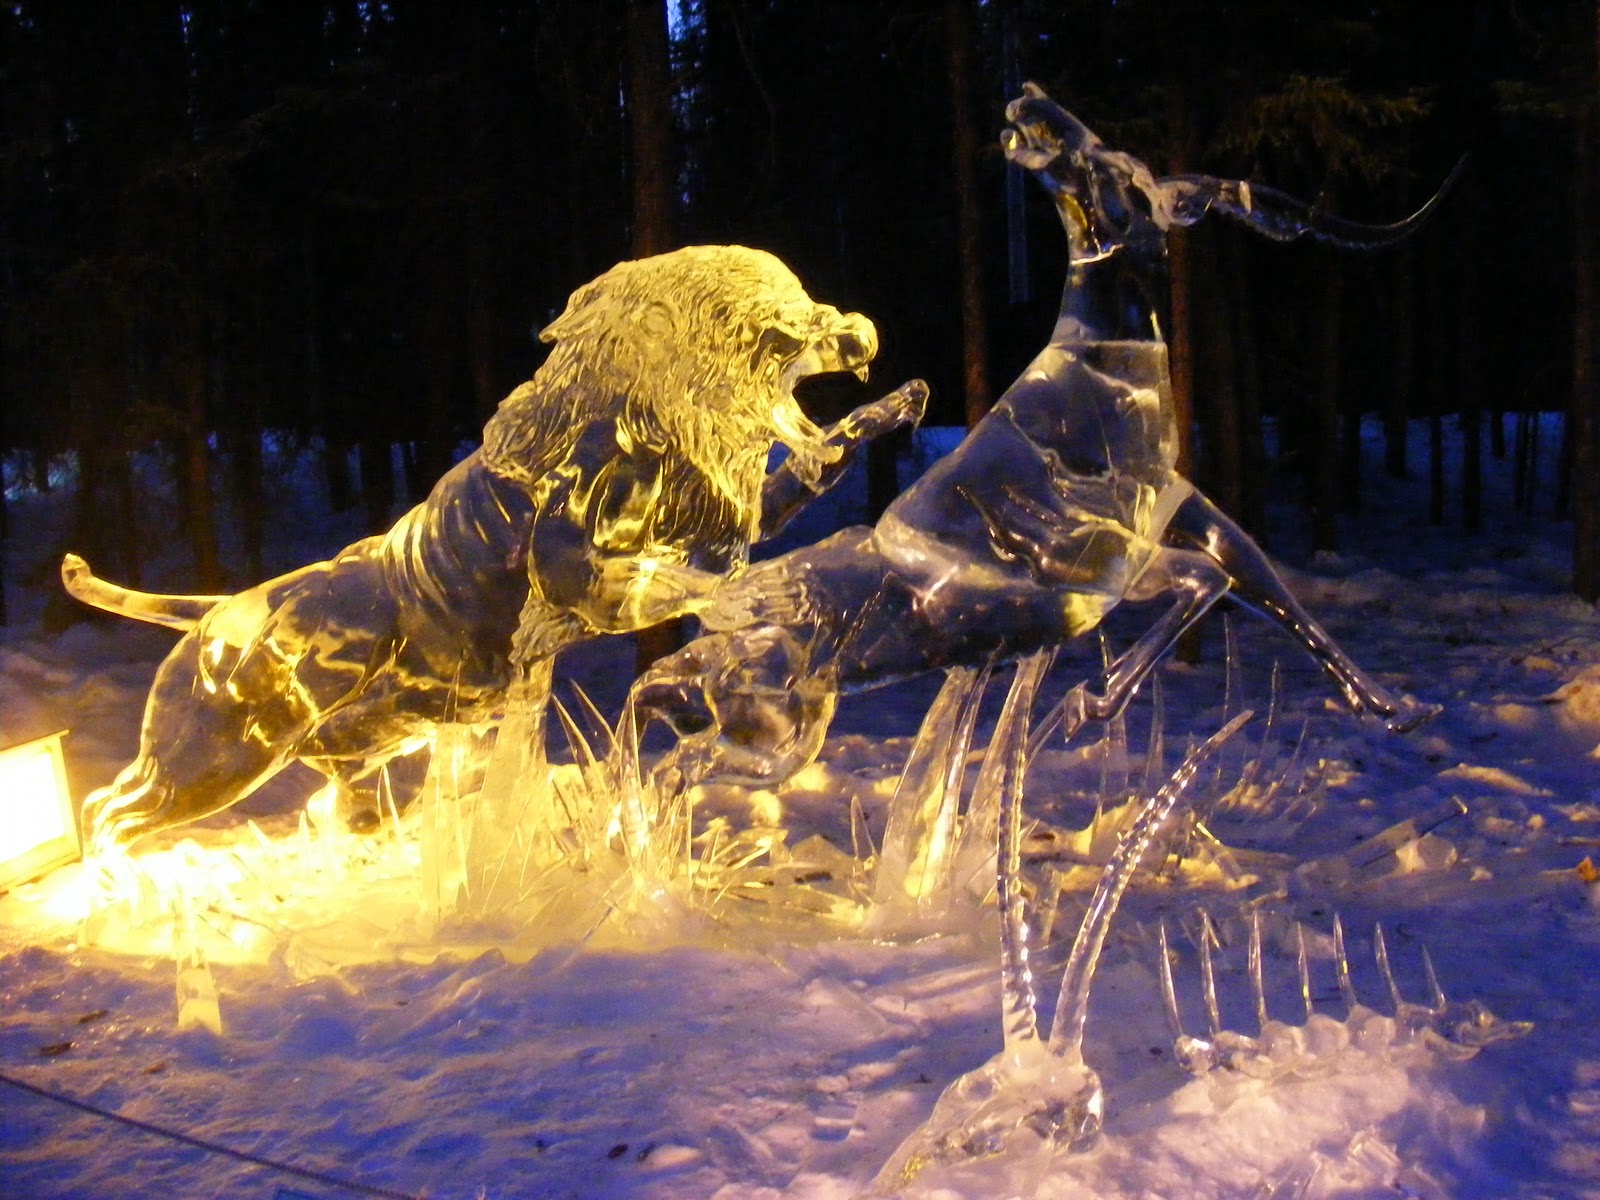
A few weeks ago we attended the Ice Art Championship 2011, it's an event held every year, and artists from around the world come to compete.  We go to enjoy the amazing sculptures of course, but it is an event in my mind that marks the end of winter.  By the end  of March were back to about 12 hours of light, usually (but not always) the severe cold is behind us, and spring is on it's way.  The kids go because they have fun!  There are large and small ice slides, and various other play items made of ice for the kids, they enjoy the sculptures too.  Our digital camera decided to die very quickly into the visit, so unfortunately we didn't get many pictures, but I'll share the few we got.  I'll also post a link for the web site Ice Alaska


Friday, April 1, 2011

Even our recipes are fatter!

A while back I happened upon a study that has been tracking recipes in the Joy of Cooking from 1931 to the newest version in 2006.  The study found that the average calorie per serving for a certain group of recipes had increased by 63%!  The calories per recipe and the serving sizes had both increased over time, and largely due to fat, sugar, and meat.  What was most surprising to me, when I looked at the comparison table, the largest increase was between 1997 and 2006.  So while we are trying to become more health and weight conscious, it sure hasn’t been reflected in the recipes, and apparently there are similar findings in other cookbook series’.   All of these people who are trying to eat healthier by cooking at home, like their grandmothers’ did, likely have no idea that their recipes are supersized and laden with fat and sugar, just like the rest of our typical American diet, and that they are anything but grandma’s recipes.   I attempted to post the data, but couldn’t make it fit, so I’ll post the link where you can read the full text version yourselves. Link to study


After reading this, I started looking for vintage copies of the Joy of Cooking; a few weeks ago I finally purchased a copy from a seller on Amazon.  It is in great shape and I was really excited to try out some recipes.  It’s organized differently that I’m used to, so it’s interesting to browse, and it is indexed well.  I think what surprised me the most was the variety of meats that there are recipe, baking and/or shopping instructions for.  There are recipes that include fish/seafood, beef, lamb/mutton, pork, chicken, duck, partridge, pheasant, grouse, rabbit/hare, squirrel, squab, pigeon, turkey, capon, goose, guinea hen, quail, snipe, and also, sweetbreads, brains, kidneys, hearts, tongue, and oxtails.  I have to admit I was, in fact, surprised to learn that oxtail soup contains, you know, OX tails.  Somehow I thought it was made from something different and just called that. Wow what difference between our diet today!  Our industrialized food system has us believing that meat only comes in chicken, beef and pork, wrapped in plastic, on slabs of Styrofoam.   Now I have to say that I’m not super excited about the idea of kidney stew, or liver loaf.  I imagine enough damage has been done to my view of what “food”  is that I may never develop a taste for certain things.  Over the past couple years we have started buying local grassfed beef, raised our own chickens, and fish our own salmon, but still there isn’t the diversity of meat that there should be in our diet.  I may not be ready to make kidney stew, but I am ready enough, that I gave my husband the go ahead to finally breed our rabbits for meat (ok, so raising those nasty Cornish Cross, and a really great 4H project I saw at the fair also swayed me), we have our first 5 in the freezer and I think we’ll eat our first this weekend.  I also found myself saying yes to the idea of ptarmigan, moose and caribou hunting, which we haven’t done yet, but it's in the plans for this season .  Who knows where this will go from here, maybe someday I’ll be sharing my very own liverloaf recipe here.